

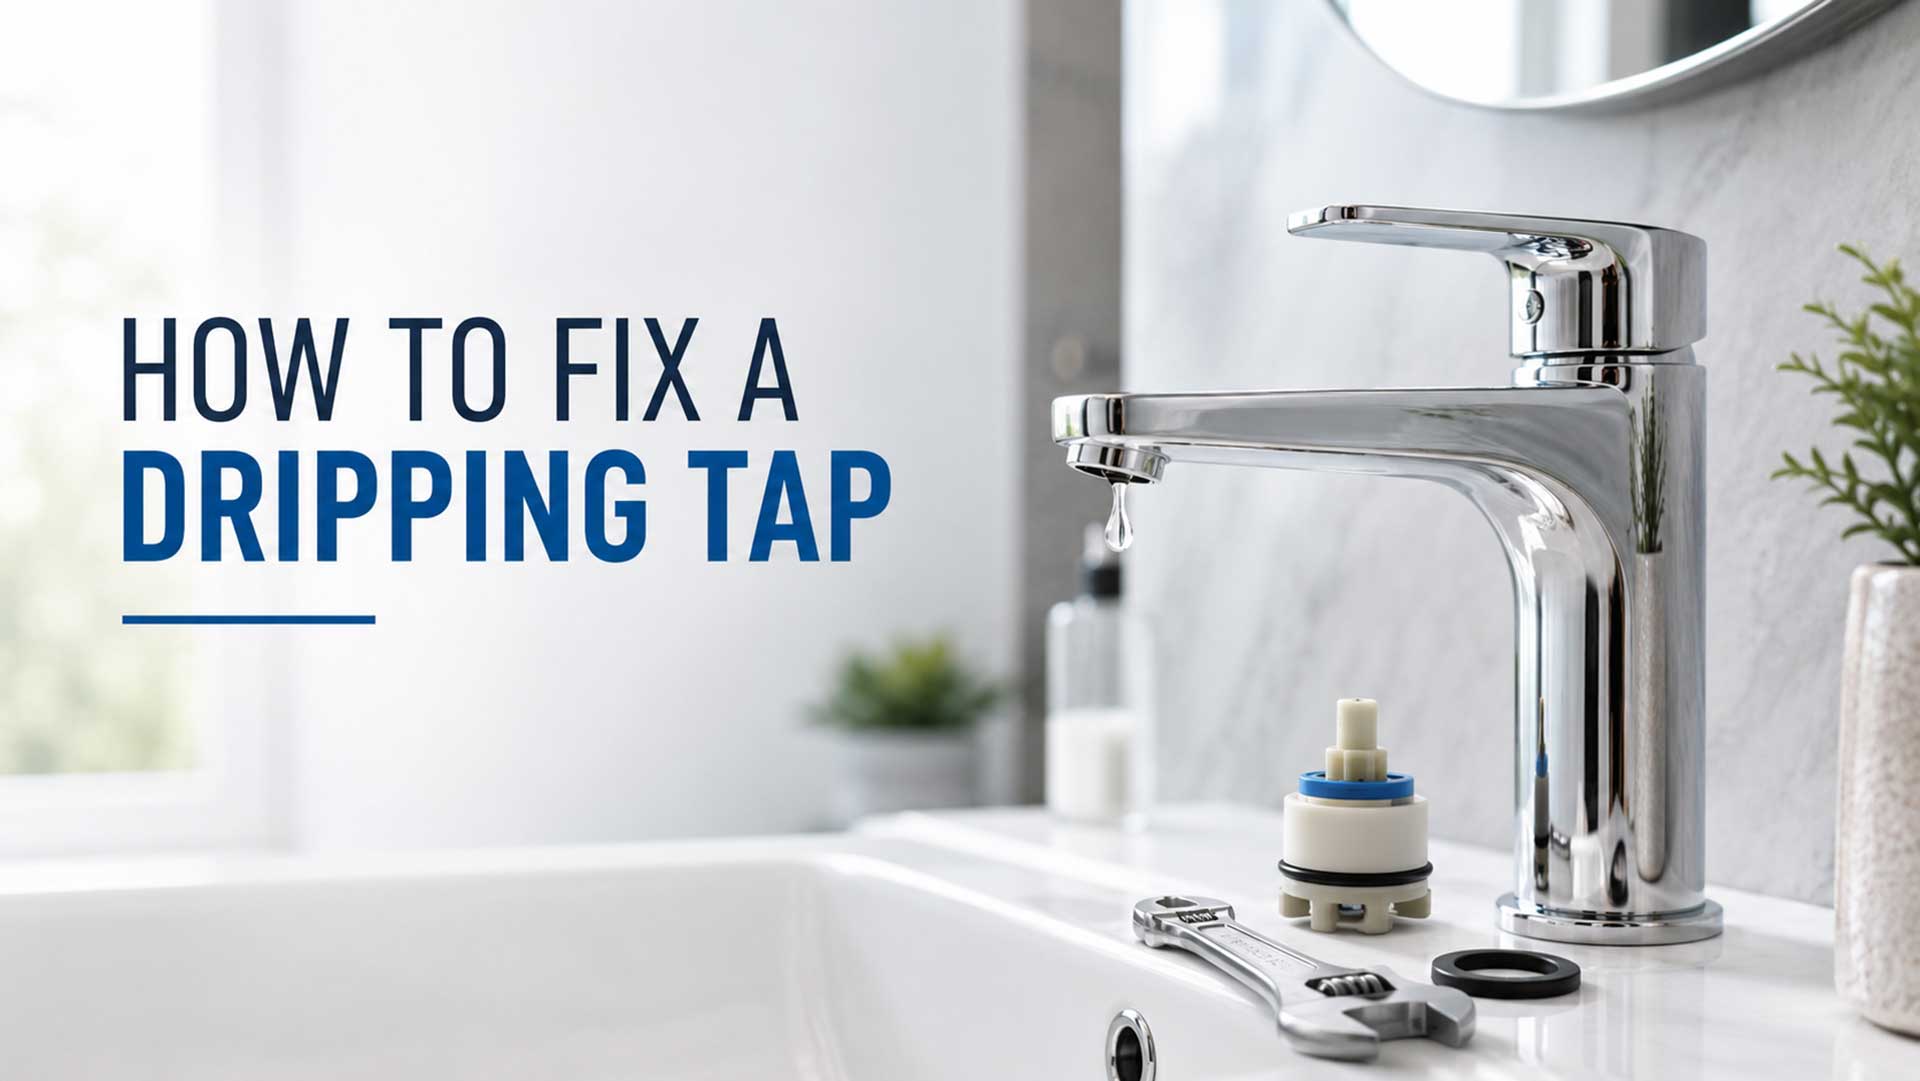
Quick Answer: How to Fix a Dripping Tap
| Turn off the tap’s isolation valves or the home’s internal stop tap, open the tap to release pressure, then identify the valve type. A traditional tap that turns several times usually needs a new rubber washer or O-ring. A quarter-turn tap normally uses a ceramic cartridge, which may need cleaning or replacement. Reassemble the tap, restore the water slowly and check for leaks. Stop and call a qualified plumber if the isolation valve will not close, the pipework moves, seized parts will not loosen, or water sits near electrical fittings. |
Knowing how to fix a dripping tap helps you deal with a problem that may look small. The sound often feels more annoying than the visible water loss. Yet a persistent drip usually means that a seal, washer or cartridge no longer closes properly. WaterSafe warns that one dripping tap can waste up to 5,500 litres of water a year, so prompt action can reduce waste and prevent staining or limescale around the fitting. WaterSafe’s guidance on dripping taps also identifies worn washers and limescale as common causes.
This guide shows you how to fix a dripping tap by diagnosing the leak before taking the fitting apart. That matters because replacing a washer will not repair a ceramic-disc valve, while ordering a generic cartridge without checking the manufacturer and spline can leave you with the wrong part. If the issue is part of a wider bathroom project, PAD Magazine’s bathroom renovation cost guide explains how plumbing changes can affect the overall budget.
How to Fix a Dripping Tap: Check Whether It Is Actually Leaking
Not every drop after closing a tap is a fault. Some long or curved spouts release a small amount of water for a few seconds because residual water remains inside the body. Manufacturer instructions from Bristan note that brief dripping can result from residual water or capillary action. A genuine leak continues at regular intervals after you leave the tap untouched.
- Dry the spout and surrounding area with a cloth.
- Close the tap normally without forcing the handle.
- Wait for one to two minutes.
- Hold dry tissue beneath the outlet and around the tap base.
- Check whether water is coming from the spout, handle, base or pipe connection below the sink.
The leak location is the fastest clue to the correct repair. It also prevents unnecessary dismantling.
Dripping Tap Diagnosis Table
| Where the water appears | Likely cause | Most useful next step |
| From the spout when the tap is off | Worn washer, damaged valve seat, ceramic cartridge or trapped debris | Identify the tap type, then service or replace the washer/valve/cartridge |
| Around the handle or spindle | Worn O-ring, gland seal or loose retaining component | Inspect the seal and tighten only as specified by the manufacturer |
| Around the base of a mixer tap | Failed base O-ring or loosened fixing | Replace the correct seal and check the tap is stable |
| Inside the cupboard below the sink | Loose flexible hose, compression joint, isolation valve or tap fixing | Dry everything, locate the exact joint and avoid operating the tap until assessed |
| Only after the tap is used, then it stops | Residual water inside the spout | Monitor it; repair may not be necessary |
Keep this distinction in mind when assessing broader moisture problems. A visible tap leak is different from condensation, rising damp or rain penetration. PAD Magazine’s UK damp-proofing cost guide explains why you should identify the moisture source before paying for treatment.
Identify Your Tap Type Before Buying Parts
Traditional compression tap
A traditional hot or cold tap usually takes several turns to move from fully open to fully closed. Inside is a valve with a rubber washer that presses against a valve seat. A worn, hardened or damaged washer is a common reason for a constant drip. These taps may also contain O-rings around the spindle.
Quarter-turn ceramic-disc tap
A handle that moves through roughly a quarter turn normally operates a ceramic-disc valve or cartridge. The ceramic surfaces control the flow, and the unit may drip if the seals wear, debris becomes trapped or limescale prevents the valve from closing fully. Many cartridges are brand- and model-specific.
Single-lever mixer tap
A single lever commonly controls both temperature and flow through one mixer cartridge. A drip from the spout often points to the cartridge, while water around the base may indicate a separate O-ring. Photograph the tap and look for the model number, fitting instructions or spare-parts diagram before ordering anything.
Tap design also affects maintenance access. PAD Magazine’s feature on free-standing bath and shower options shows how wall-mounted, deck-mounted and floor-standing fittings create different installation requirements.
Tools and Replacement Parts You May Need
- Flat-head and Phillips screwdrivers
- Correct Allen key for a concealed handle screw
- Adjustable spanner or correctly sized open-ended spanner
- Soft cloth or masking tape to protect chrome finishes
- Sink plug or towel to stop small screws falling into the waste
- Replacement washer, O-ring, valve or cartridge matched to the tap
- A small brush and a manufacturer-approved descaling solution
- Phone camera for recording the order and position of components
Avoid gripping a polished fitting directly with serrated pliers. Serrated pliers can permanently scratch chrome, and excessive force can twist the tap body or the pipes beneath it.
How to Fix a Dripping Tap Step by Step
1. Isolate the water supply
Look under the sink or basin for small service valves on the hot and cold supply pipes. You usually close a slotted isolation valve by turning the slot until it sits across the pipe. If local valves are absent or unreliable, use the property’s internal stop tap. WaterSafe advises turning a conventional stop tap clockwise to close it, operating it slowly and never forcing a stiff valve. PAD Magazine has also covered why homeowners should locate and label their stop tap before an emergency.
After isolation, open the tap to confirm the flow has stopped and to release remaining pressure. In flats or properties with shared supplies, do not operate communal valves unless you know they serve only your home.
2. Protect the sink and record the tap assembly
Insert the plug, place a towel around the work area and take a photograph before removing each layer. Tap handles often conceal a screw beneath a coloured hot/cold indicator, a decorative cap or a small rear grub screw. Keeping the components in order saves time during reassembly.
3. Remove the handle and decorative cover
Carefully lift the cap with a small flat screwdriver, or loosen the grub screw with the correct Allen key. Remove the handle without rocking it aggressively. Unscrew the decorative shroud by hand where possible. If limescale has seized the cover, use a cloth for grip rather than forcing a metal tool against the finish.
4. Remove the valve or cartridge
Hold the tap body steady while loosening the retaining nut or valve. This is important: applying all the force through the tap can transfer movement to the flexible hoses or fixed pipework below. If the component will not move with controlled pressure, stop rather than escalating to a longer lever or excessive force.
5. Inspect the component and match the replacement
On a compression valve, inspect the rubber washer at the bottom and the O-ring around the spindle. Replace seals that are split, flattened, swollen or hardened. On a ceramic valve or mixer cartridge, look for damaged seals and heavy limescale. Compare the old component with the replacement for height, diameter, thread, spline count, hot/cold direction and locating tabs. Manufacturer FAQs commonly recommend using the product’s fitting instructions to identify and remove the correct cartridge.
6. Clean only what needs cleaning
Remove loose debris from the valve cavity with a clean cloth. A reusable cartridge may respond to gentle descaling if the manufacturer permits it, but damaged ceramic surfaces or worn seals require replacement. Do not use abrasive powder, harsh acid or a tool that can score the sealing surface.
7. Reassemble without overtightening
Refit the washer, valve or cartridge in the same orientation. Tighten it enough to seal and remain secure, but do not treat maximum force as a better repair. Replace the shroud, handle, screw and cap. The handle should move smoothly and stop in its normal position.
8. Restore the supply slowly and test
Close the tap, reopen the isolation valve or stop tap slowly, then check every disturbed joint with dry tissue. Run the tap gently, close it and wait. Test again after ten minutes and once more later in the day. A dry spout is not enough if a connection beneath the sink has started to weep.
How to Fix a Dripping Tap That Still Leaks After Replacing the Washer
A new washer does not guarantee a seal if another component is damaged. Work through these possibilities before dismantling the tap repeatedly:
- The replacement washer is the wrong size or has not seated flat.
- The valve seat is pitted, scored or covered with mineral deposits.
- The leak is from an O-ring rather than the washer.
- You may have mistaken a quarter-turn valve for a traditional washer tap.
- The ceramic cartridge is worn or has debris inside it.
- The hot and cold cartridges have different closing directions.
- The drip is residual water that stops naturally after a few seconds.
- Movement during the repair loosened a hose or joint below the sink.
Where the repair exposes a broader maintenance problem, see PAD Magazine’s guidance on when it is sensible to call a plumber. Professional help is especially valuable when replacement parts are obsolete, access is poor or the leak continues despite correct servicing.
When You Should Stop and Call a Plumber
- The internal stop tap or isolation valve is seized, broken or leaking.
- Water continues to flow after you close the supply.
- The tap body, flexible hoses or pipework move when you loosen the valve.
- The leak is inside a wall, floor, boxed-in service void or fitted unit.
- Water is close to sockets, lighting, appliances or electrical wiring.
- The property uses unfamiliar hot-water equipment or shared supplies.
- The tap is under warranty and unauthorised dismantling may affect cover.
- You cannot positively identify or source the correct replacement part.
Use a WaterSafe-approved plumber for work on the drinking-water system where possible. For a new homeowner, learning where the valves are and keeping basic maintenance records is as important as the repair itself. PAD Magazine’s first-time homeowner maintenance guide covers other checks that can reduce the risk of disruptive repairs.
How to Reduce the Chance of Another Dripping Tap
- Close taps firmly but gently; repeatedly forcing the handle can accelerate wear.
- Clean aerators and external limescale before deposits become difficult to remove.
- Keep the tap model, receipt and spare-parts diagram with your home records.
- Operate accessible isolation valves periodically so they are less likely to seize.
- Investigate changes in water pressure rather than treating every leak as an isolated washer problem.
- Repair small leaks before staining, corrosion or cupboard damage develops.
Correctly selected aerators and flow-limited fittings can also improve water efficiency. PAD Magazine previously reported on water-saving tap technology, while its guide to keeping bathroom costs under control includes practical ways to reduce water and energy waste.
A 60-Second Dripping Tap Checklist
| Check | What to confirm |
| Leak location | Spout, handle, base or under-sink connection |
| Tap action | Several turns, quarter turn or single-lever mixer |
| Isolation | Local service valves or internal stop tap operate safely |
| Part identity | Brand, model, dimensions, spline and closing direction |
| Repair test | Dry tissue test immediately, after ten minutes and later that day |
| Escalation point | Stop if valves, pipework or electrical safety are uncertain |
Frequently Asked Questions
Can I fix a dripping tap myself?
Many homeowners can learn how to fix a dripping tap by replacing an accessible washer, O-ring or tap cartridge after safely isolating the water and identifying the correct component. Stop if the valves are seized, the pipework moves, the tap is unfamiliar or the leak is near electrics.
Why does my tap drip only at night?
The fault may be more noticeable in a quiet room, but changes in mains pressure can also alter the drip rate. A seal that is already worn may leak more obviously when pressure rises.
Does a dripping mixer tap always need a new cartridge?
Not always. Debris or limescale may prevent the cartridge from closing, and some models can be serviced. However, damaged seals or ceramic surfaces normally require the correct replacement cartridge.
Can I replace a ceramic cartridge with any cartridge of the same size?
No. Dimensions alone may not be enough. The thread, locating lugs, spline count, handle connection and hot/cold closing direction must also match.
Why is my tap leaking from the base rather than the spout?
A leak around the base often points to an O-ring, body seal or loosened fitting rather than the main valve. Dry the tap completely and identify the exact source before taking it apart.
How urgently should I repair a dripping tap?
Repair a steady drip promptly. It wastes water and can create limescale, staining or moisture damage. Treat any leak beneath the sink, near electricity or inside a cabinet as more urgent.
Final Thoughts
The most reliable way to fix a dripping tap is to diagnose first and dismantle second. Confirm that the drip is continuous, identify where the water appears, isolate the supply safely and match the replacement part to the actual tap. A washer repair can be straightforward, but ceramic cartridges, seized valves and hidden leaks deserve more caution. When the repair is complete, test both the spout and the connections below the sink before considering the job finished.
Small maintenance details can also affect how buyers judge a property. PAD Magazine’s article on preparing a home for sale explains why visible issues such as a dripping tap can suggest wider deferred maintenance.
Browse more food storage tips and recipe ideas on FEAST Online.